


I was looking at my working space thinking I really needed to clean up. Problem with me is I’m a huge hoarder when it comes to rubbish at most times. This frustrates Miguel so much. Said I was so unorganized and messy, which I never denied...
So I decided to clean up and say goodbye to all the scraps that has grown more and more each time I sew (which is, everyday). But as I scooped up those too small to make anything remnants, a heavy feeling sank deep in my guts. I wasn’t ready to part, only because I know there was some way to reuse them. And then, just like the speed of Gordan Flash, I got an Idea…
I started getting Santiago to eat finger food all by himself last week and earlier today, while eating his chopped pears + Cheddar Cheese + Raisins, I thought to myself “wouldn’t it be nice if he had his own mini arm chair to sink into while snacking on his food…”
That was my inspiration for this project J I said tutorial in the title of this post which is not 100% detailed tutorial, but more of a snap as you create sort of thing. So I’m really sorry if you were expecting some kind of fancy tutorial. It’s usually too late for me to create one when I’m in the middle of an idea. I don’t take measurements; I just go with the flow… So please forgive me.


Freestyle tutorial steps to make a baby armchair

1. Cut 3 rectangles of your desired size. This is for the arm of the chair and for the back for more support.

2. Fold each of them into halves and sew.


3. Using a needle, hand sew one end of each sewed-up rectangles to gather them up and close it.

What you’ll have are three bolster like casing.
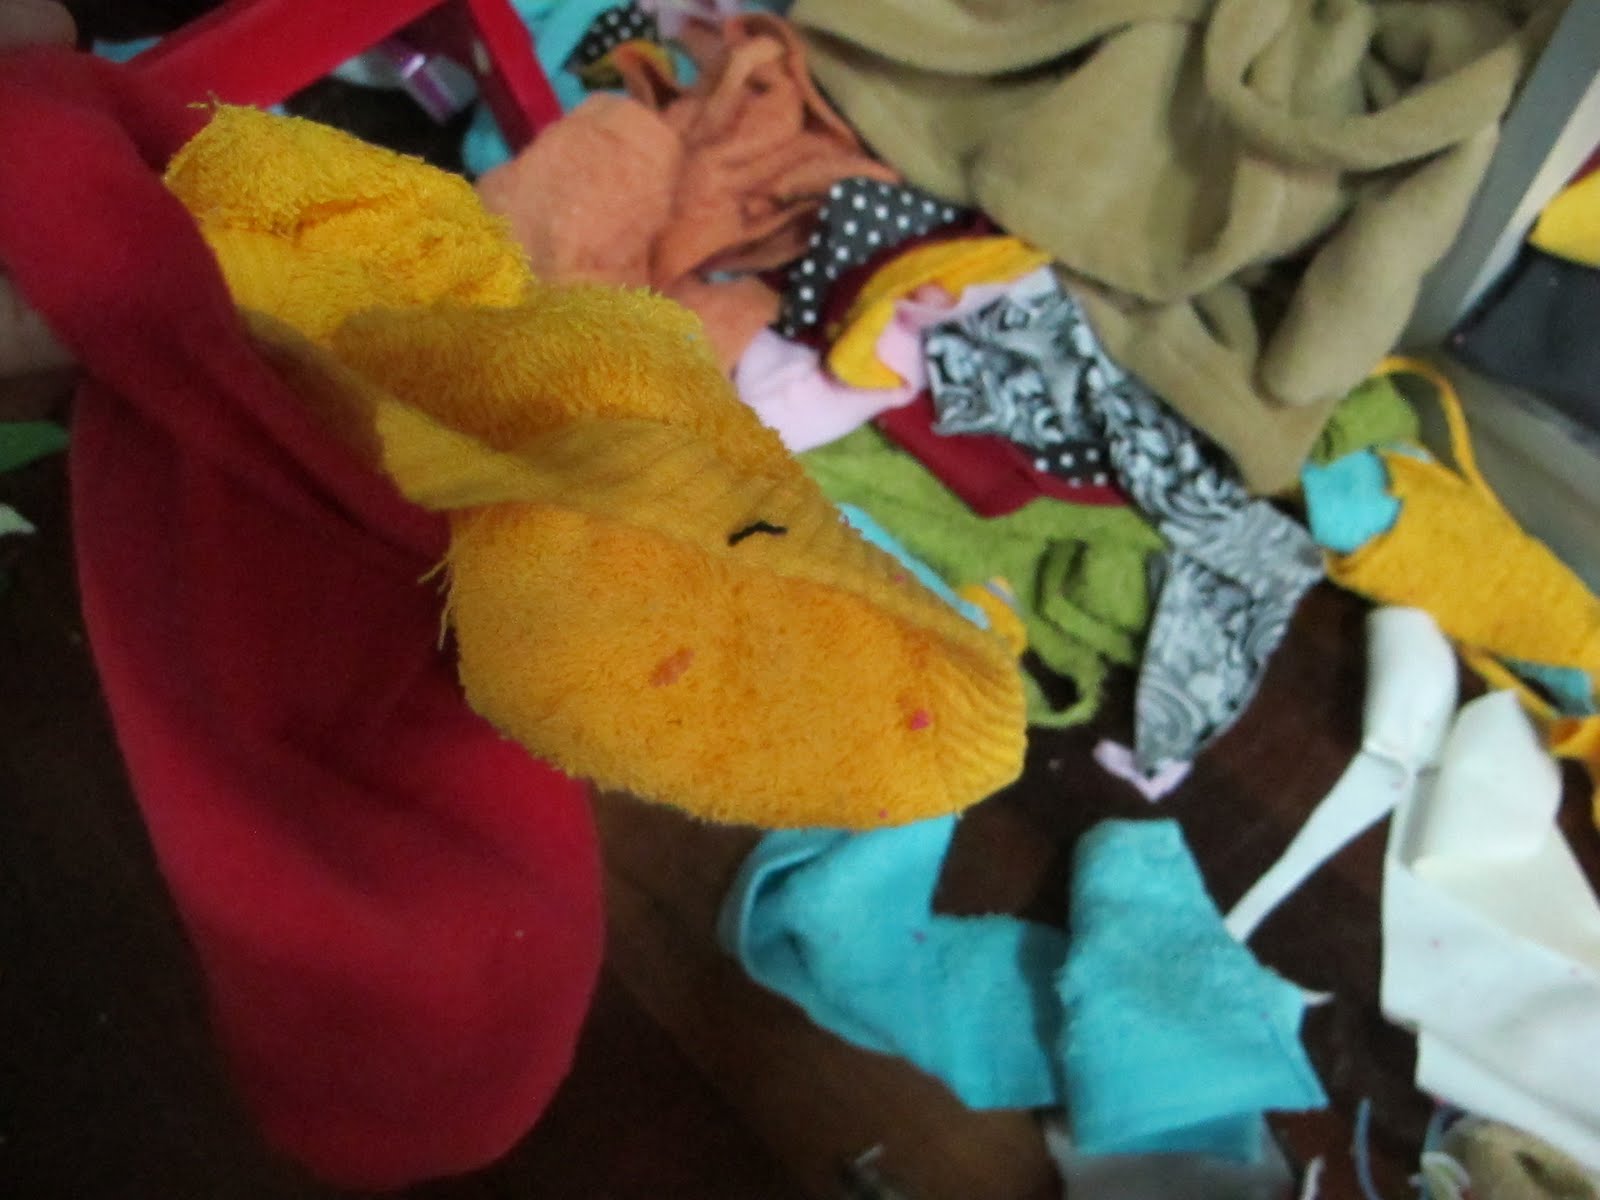


Don’t forget to say “Hasta la vista bebe!” Hand sew the ends to close the opening.

Lookie what I found! A worn out chair cover / mat... We usually put it on the wooden chairs to cushion our tushies!

And this! I made this as a back-up for Santiago's stroller but I never got around to using it

5. Assembling!
I placed 2 bolster on the sides and one on the back for support... This was just me assembling it and seeing if it looks alright.

This is what it should more or less look like. I placed the worn out chair mat under by folding into half. The stroller thinggy was positioned in a way that it would sit with it's top folded backwards.

This is not scrap but I didn't like how the worn out chair mat looked like and loved this Coral Fleece I had that never got used as a blanket before.

So... 6. I placed my worn out mat onto the blankie and cut it like shown

Once you get to the end, I just fold the fabric over and cut

7. Sew the long sides of the blankie together

What you'll get is a case for...

The worn out mat. Sew to close the opening.
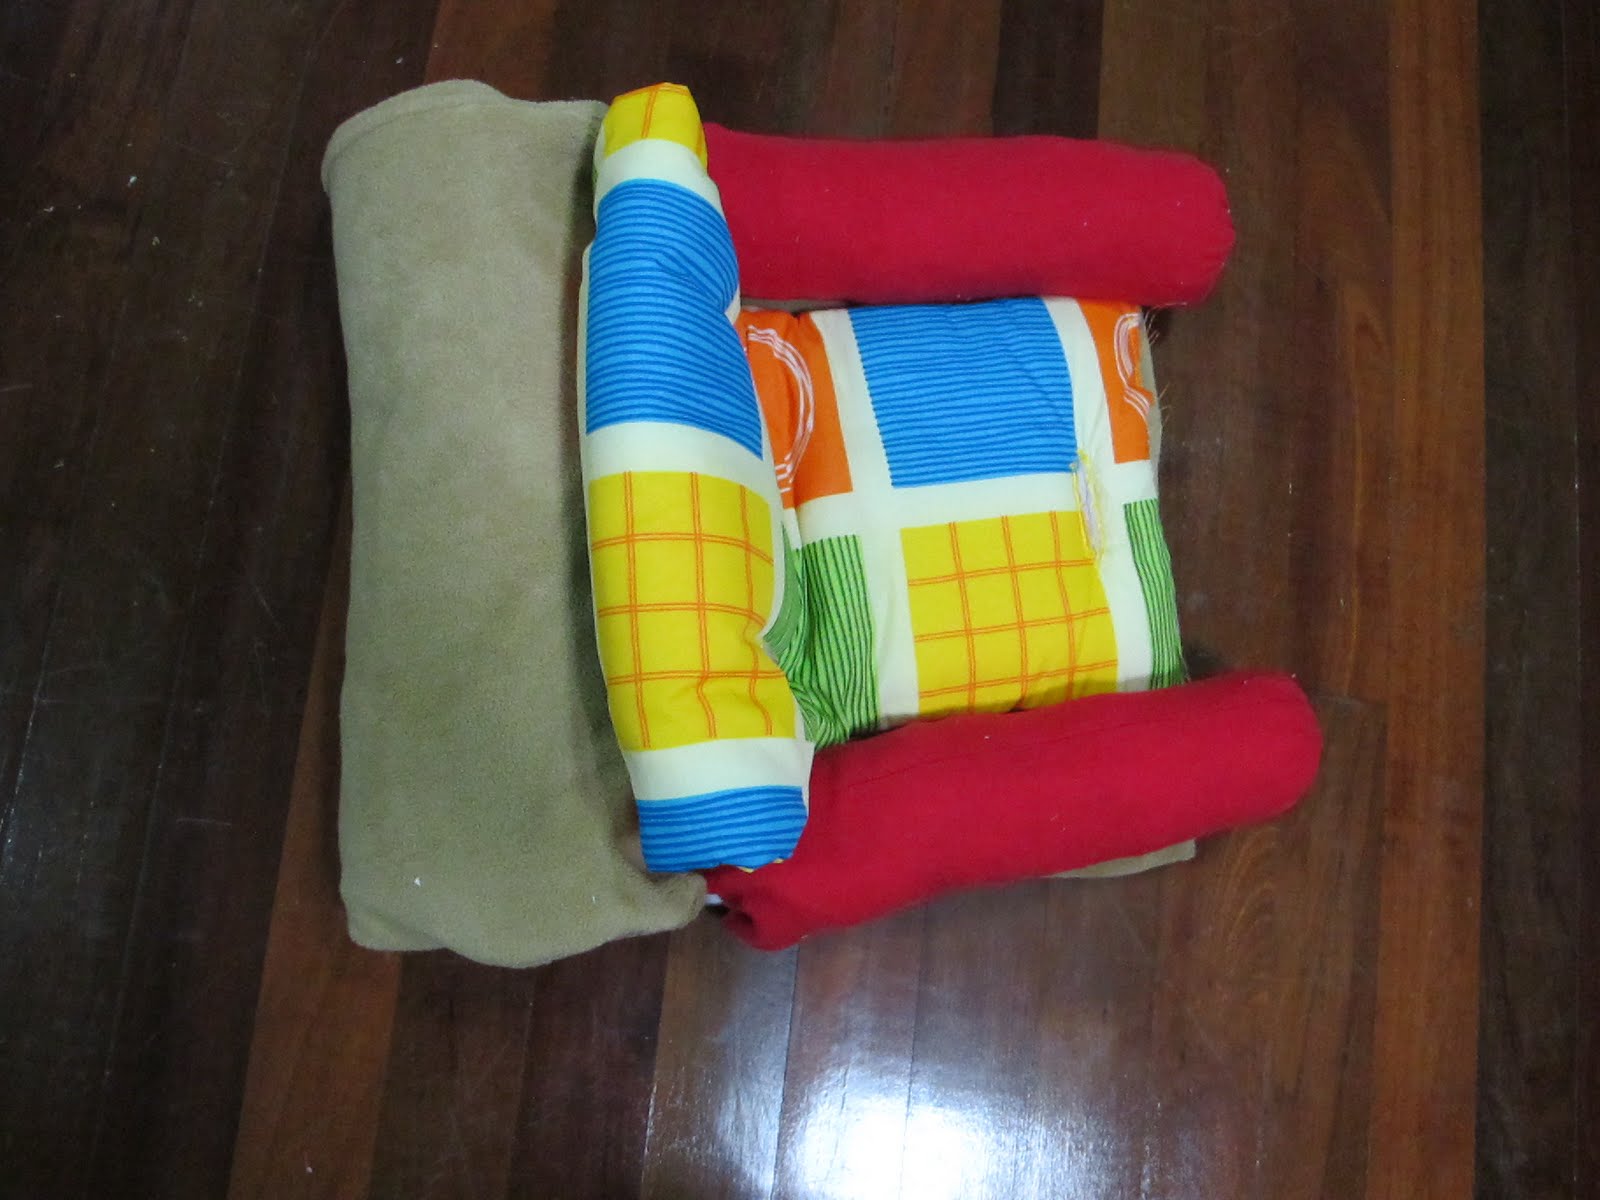
This is what it more or less looks like now with the blankie sewn over.

Ribbons! My mum bought this 9 years ago. NINE YEARS! and never actually used them.


8. I slipped in the ribbons through that slit I made before for the straps of the stroller and tied it at the back. This will keep the back of the chair together when Santiago wants to lean in.


9. More ribbons! I tied a knot around one bolster...

Slipped it under the Stroller cushie to meet the other bolster...

Tie a knot around that one too...

Slipped the ribbon under the chair...

To meet the first knot and make another knot.

And then I tied a ribbon from one bolster to another to give it more "hold"

And there you have it. A simple tie up, recycled fabric scraps into a mini armchair. You can actually release the back to roll out into a sleeping position if he's drinking milk and needs to be on his back or if he just wants to sleep. Will try this on him tomorrow when he's snacking.
It's 3:30am now, and I should really be sleeping :p
Till I sew Next


 Posts
Posts


